The first time you open your new Microsoft Office 365 suite, you will be prompted to configure your Office account and manage some of your computer’s settings. These actions are listed below with instructions on how to complete them.
- Confirm your Installation of Microsoft Office 365 was a success
- Activate Microsoft Office 365 using Passport York
Confirm Installation was a Success
To check if your installation of Microsoft Office 365 was successful, follow these steps:
If you are using a Windows device
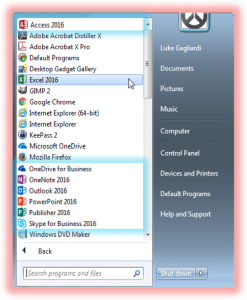
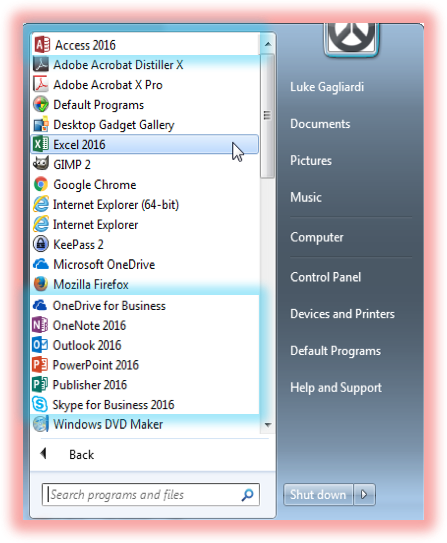
- Click the “Start” icon,
 located in the bottom-left corner of the taskbar
 - Select “All Programs”
- Now, look through your programs for any Microsoft Office 365 apps. They will not be located in a single folder like Office 2010; instead, Microsoft Office 365 apps will be displayed in alphabetical order. If you see any Microsoft Office 365 apps, then your installation was a success!
If you are using a Mac
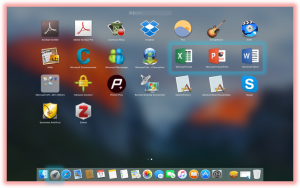
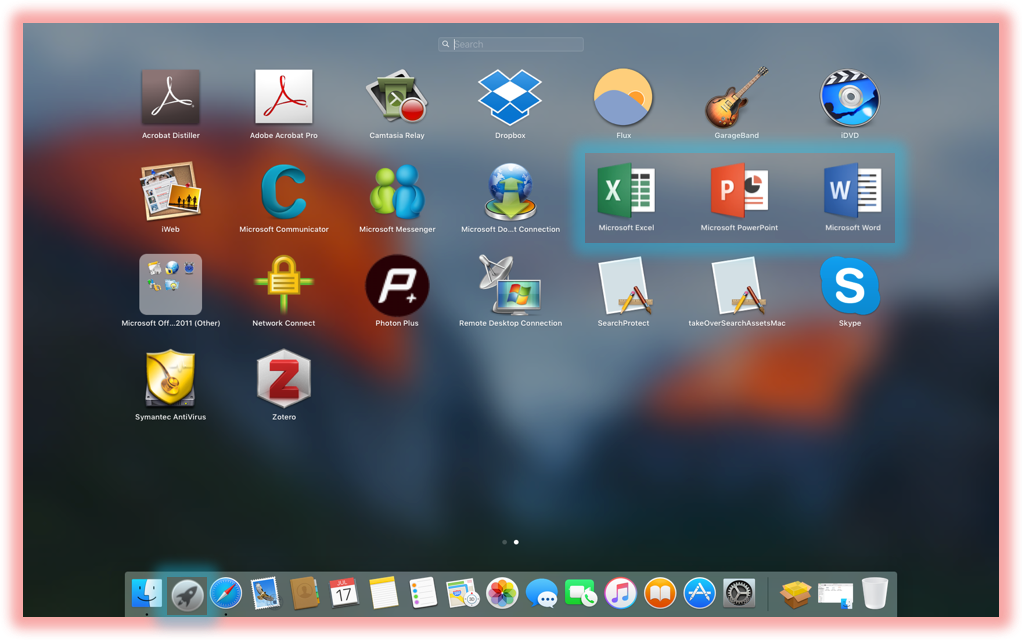
- Select the “Launchpad” icon,
 located on the dock
 - Now, look through your applications for any Microsoft Office 365 apps. If you see any Microsoft Office 365 apps, then your installation was a success!
Activate Microsoft Office 365 using Passport York
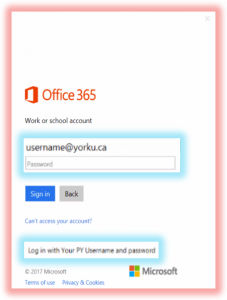
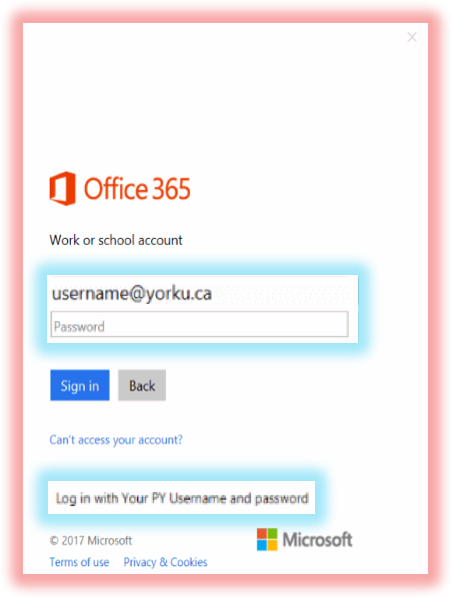
The first time you open Microsoft Office 365, it will prompt you to sign in and activate it using your Passport York email and password. To activate Microsoft Office 365:
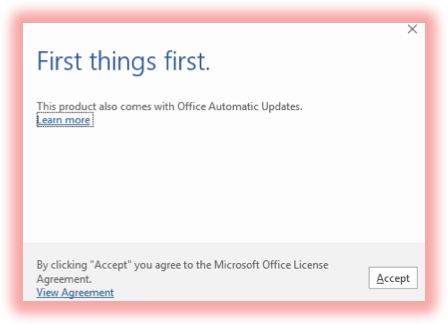
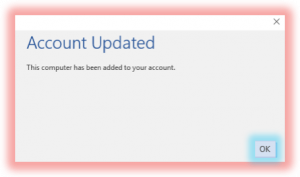
- When Microsoft’s “Account Updated” screen prompts you, click “OK”
- Now, review and accept the terms of the Microsoft Office License Agreement

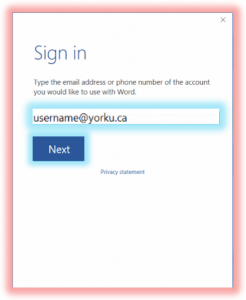
- On the “Sign in” screen, enter your Passport York email address
- Click “Next”
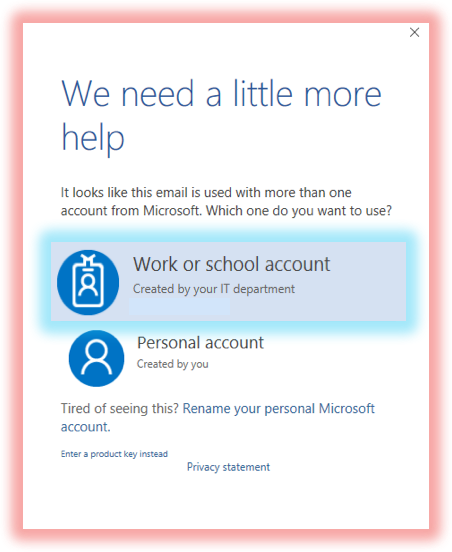
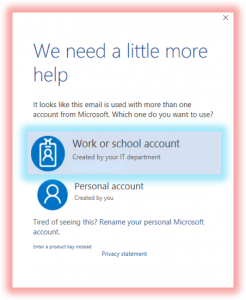
- Now, select the “Work or school” option
- Finally, sign into Office 365 using your Passport York email and password