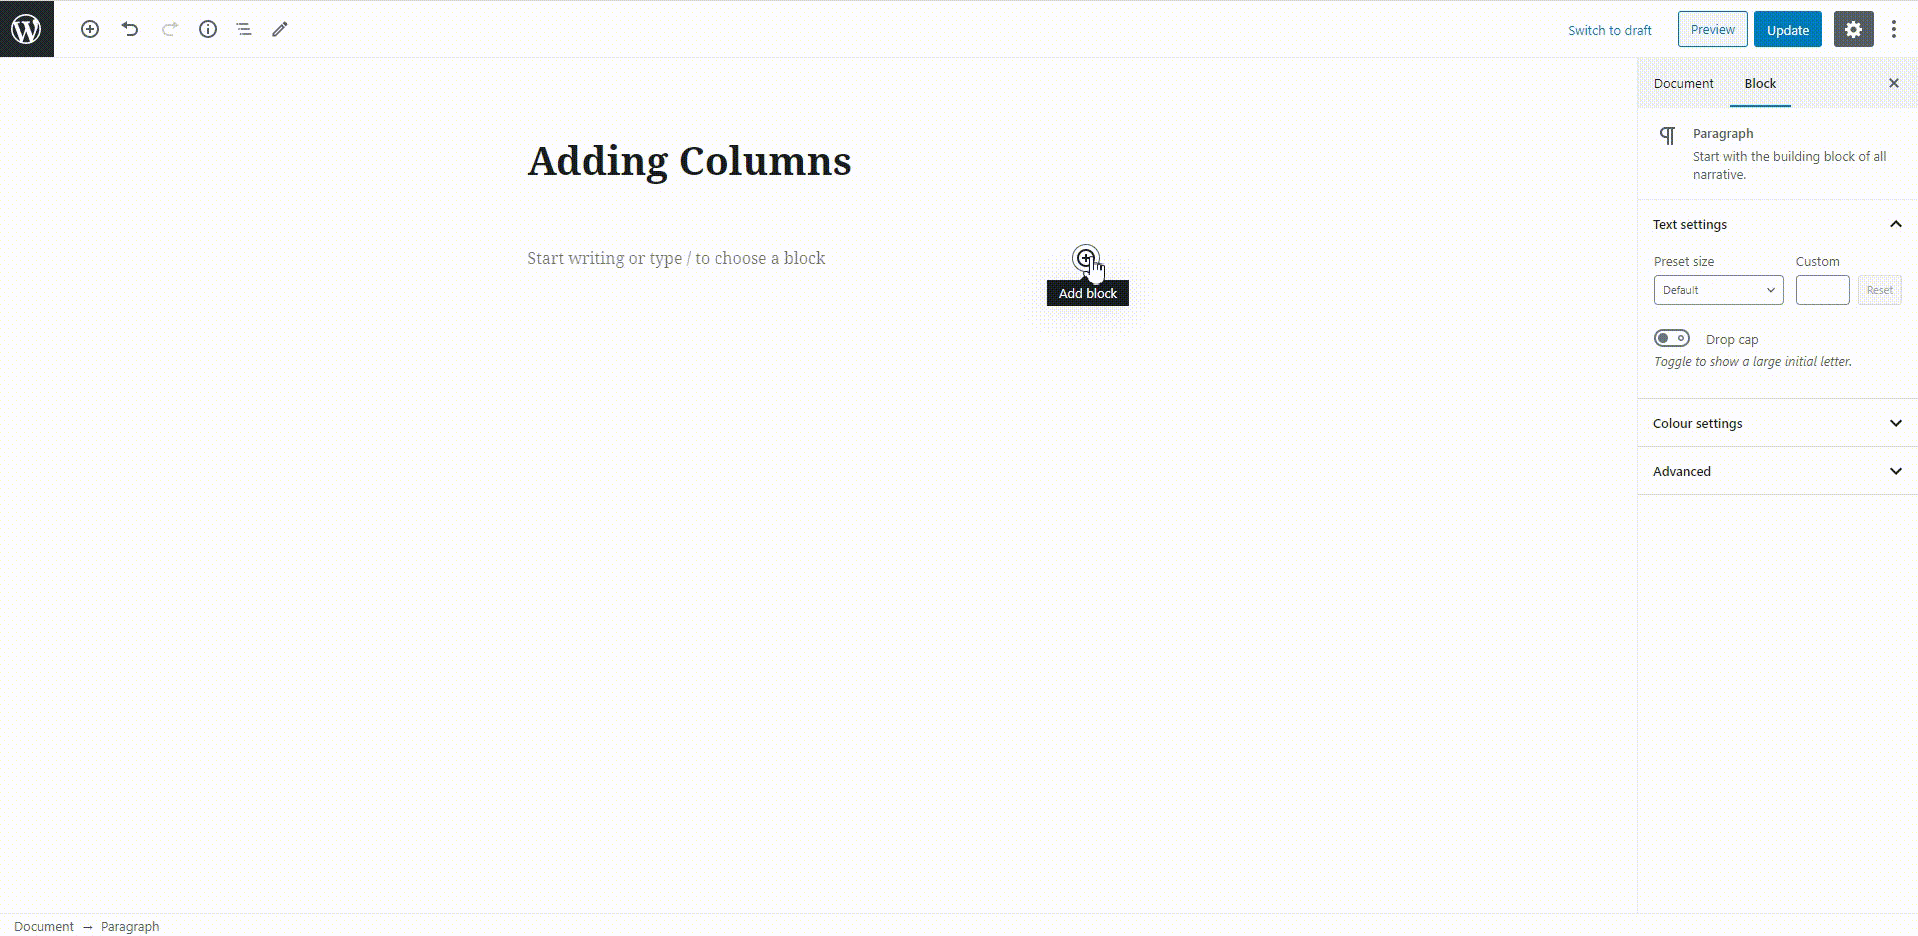
Before we start creating our page using Gutenberg blocks, let’s go over a quick run-down of the elements of the main block editor interface again.
Next Steps
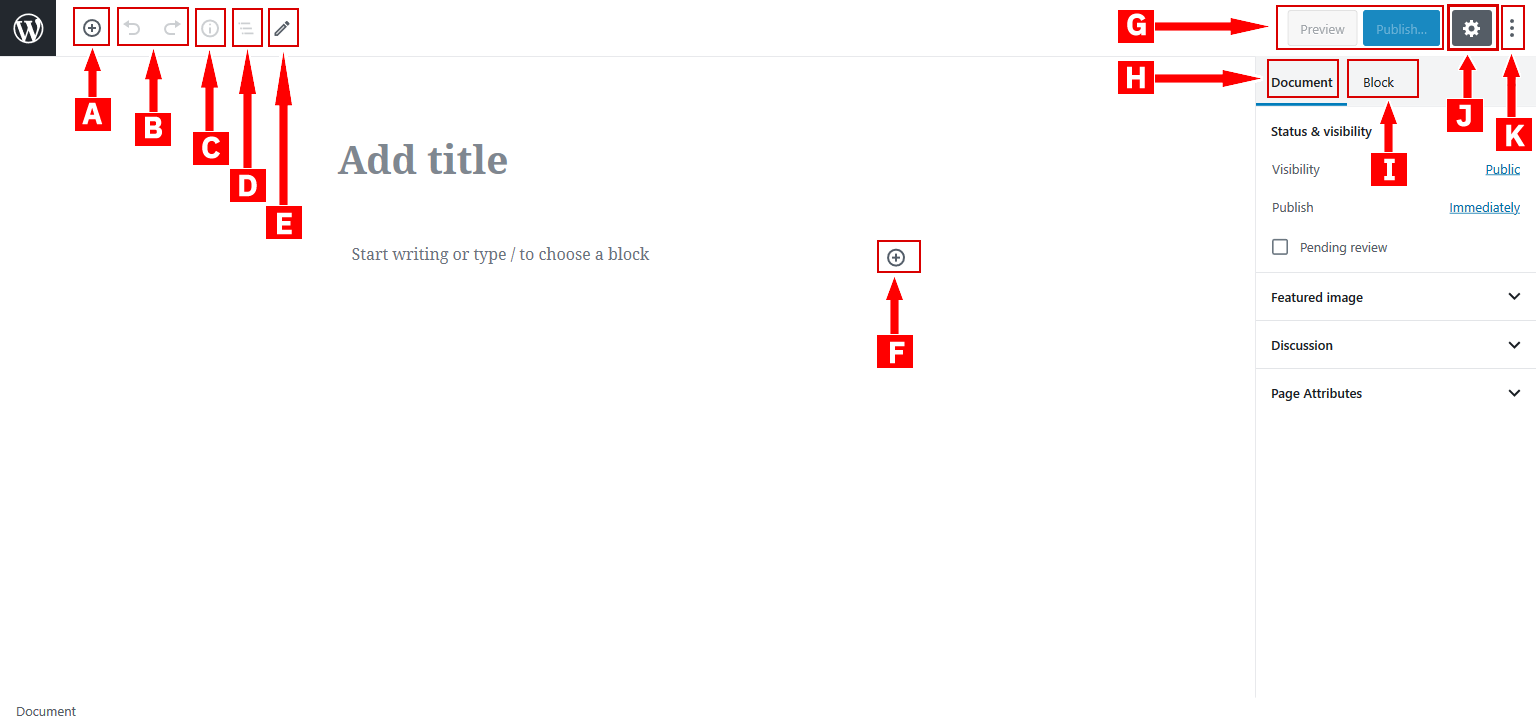
- A & F – called inserter, lets you add new blocks
- B – undo/redo buttons
- C – gives you an overview of the content structure i.e. headings, paragraphs, word count, etc.
- D – Block navigation
- E – offers different interactions for block selection & editing
- G – lets you access a live preview of your post or publish/update your post
- H – provides access to document settings, covering things like categories & tags, featured images, permalink, excerptS etc. This is similar to the current sidebar in the WordPress editor
- I – this gives you access to settings that are specific to that block when an individual block is selected such as text colour, block background colour, font size, etc.
- J – show or hide settings option
- K – more options
Adding blocks
A layout, page or post is made up of a combination of blocks. To add a block, all you need to do is click the Plus icon (A or F in the image above) and select the type of content you want to add.
Below is an example of how to add a basic paragraph block.

Gutenberg includes a ton of different blocks which are divided into different sections.
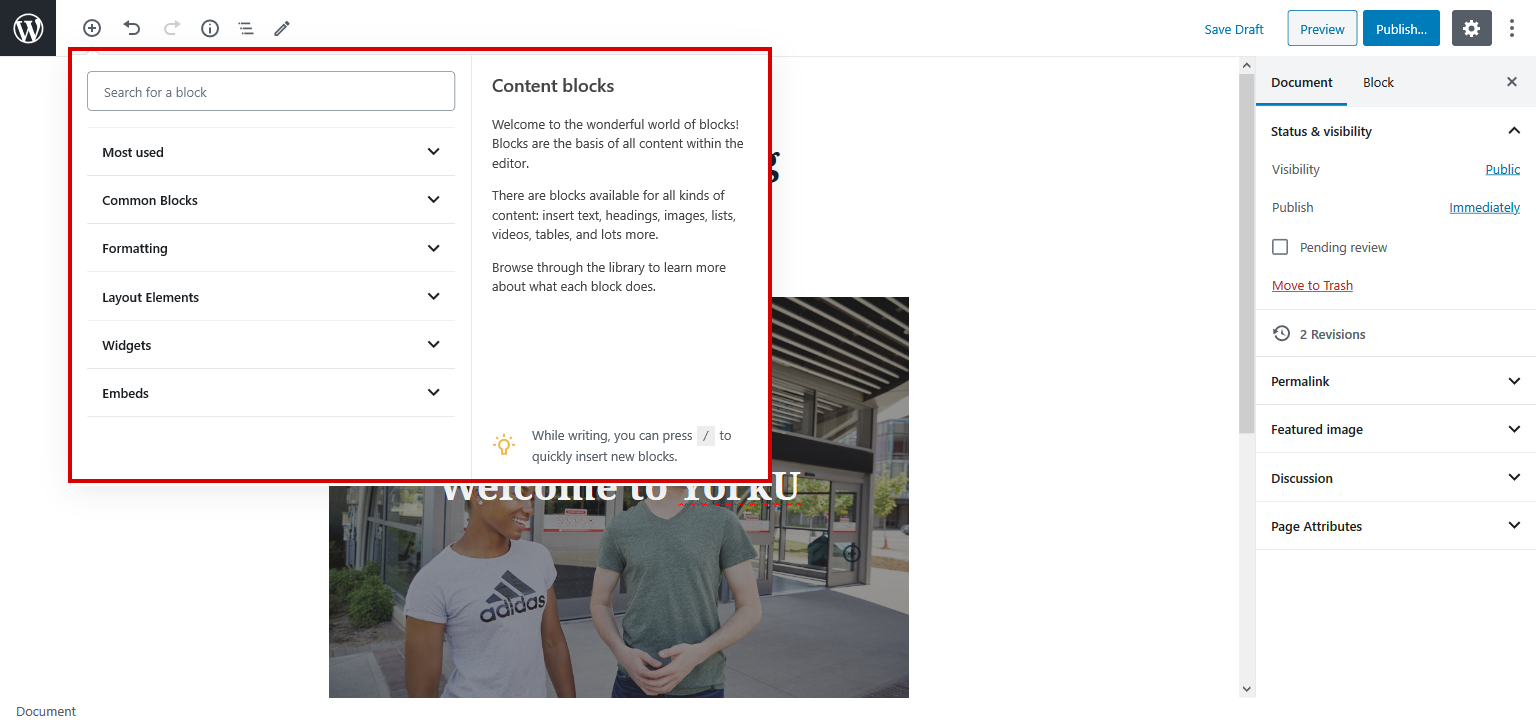
At the top, you see a list of your Most Used blocks alongside other sections for Common Blocks, Formatting, Layout Elements, Widgets and Embeds.
- Inline Elements – only contains one block for an inline image
- Common Blocks – contains basic building blocks like images, paragraphs (regular text), headings, quotes, etc
- Formatting – lets you add more formatted content like pull quotes, tables or the classic WordPress text editor
- Layout Elements – lets you split text into two columns, include buttons, separators or the “More” tag
- Widgets – lets you add shortcodes latest posts, or categories. It’s even possible to display sidebar widgets right in Gutenberg.
- Embeds – helps you embed content from external sources like Twitter, YouTube, Facebook, Instagram and more
- Reusable – once you get the hang of things, you can save groups of blocks as reusable templates and have them appear here. This area won’t appear until you save your first reusable template. This will be discussed later
Building a basic page
Here’s how to build a simple basic page that includes:
- regular text
- an image
- a quote
- embedded YouTube video
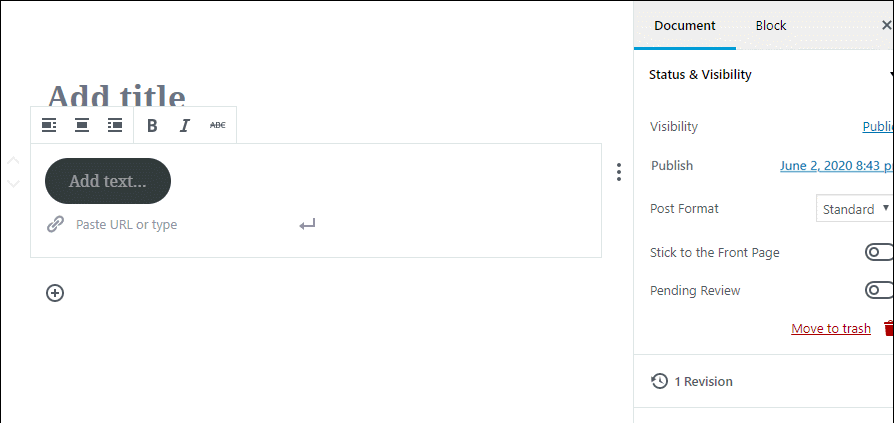
Adding a regular text block
Click on the Plus icon and select paragraph block to add your text

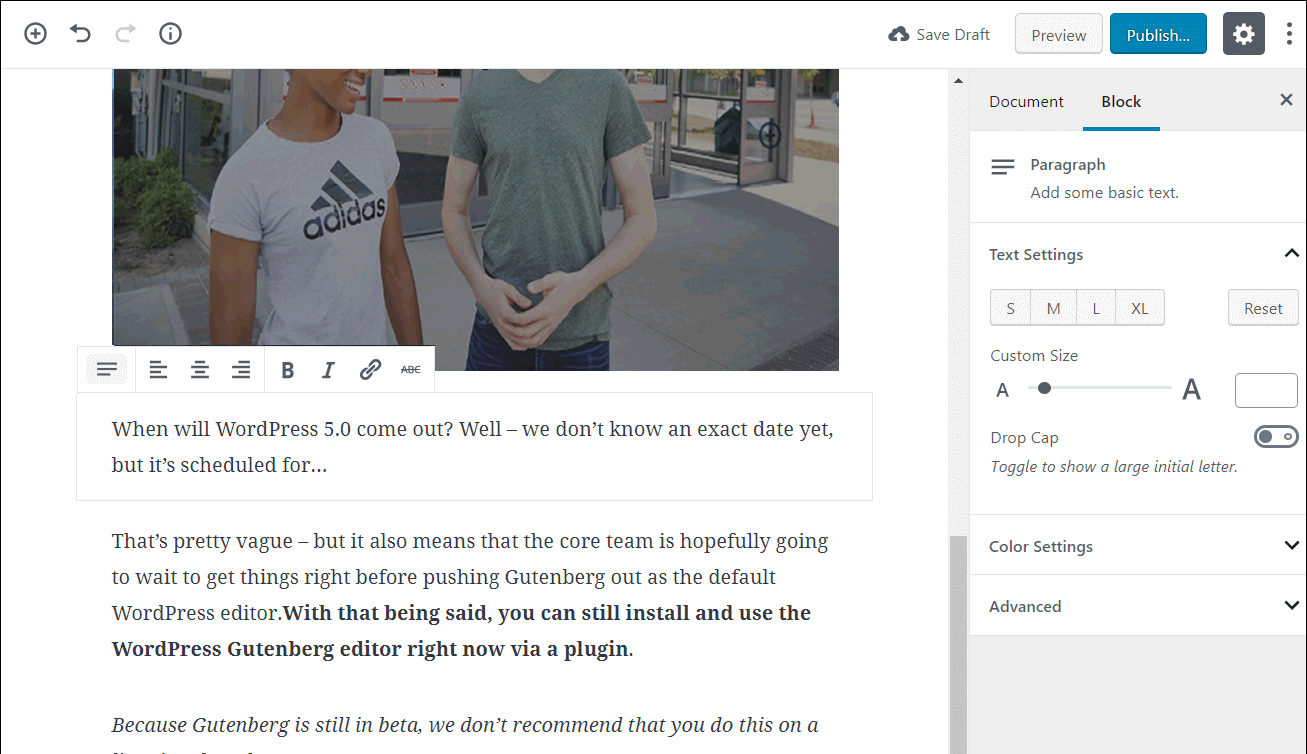
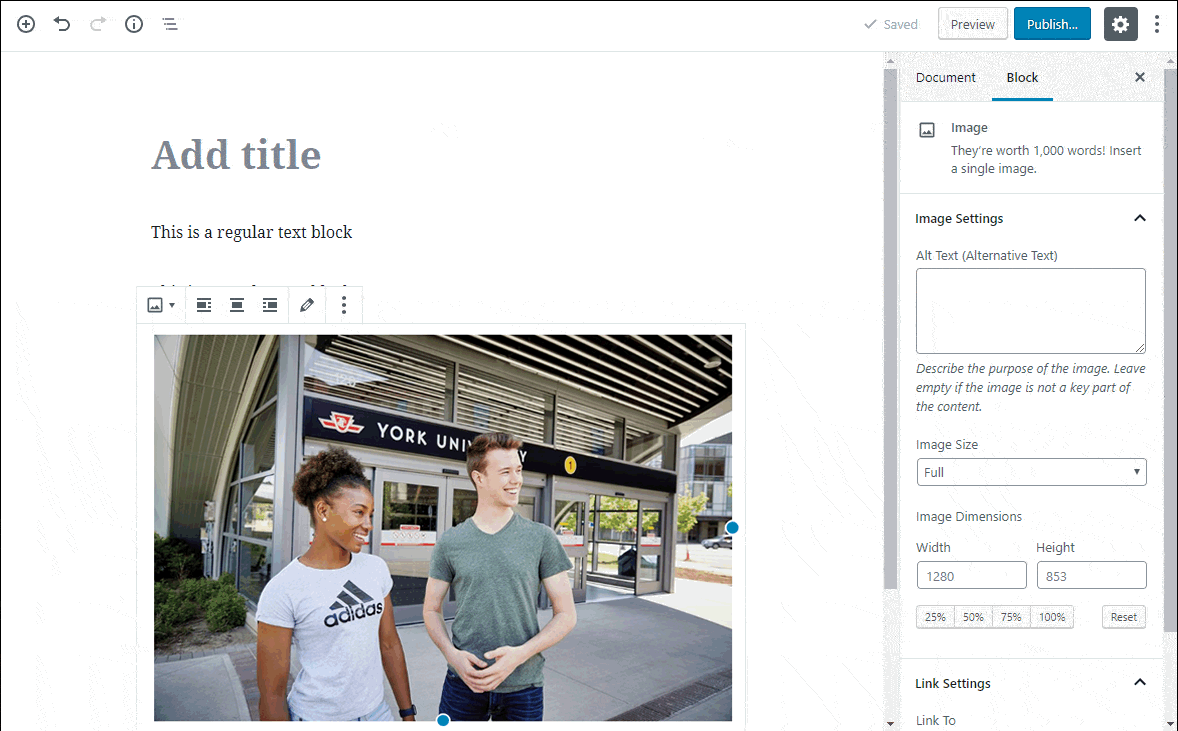
Adding an image block
Hover over the spot where you want to insert your first image and click the plus icon. That will create a break. Then, click the "Plus" icon again to insert the image block.
This will allow you to insert an image block, which you can upload from your device, select images from the media library or add from a URL in a similar manner to the classic WordPress editor.
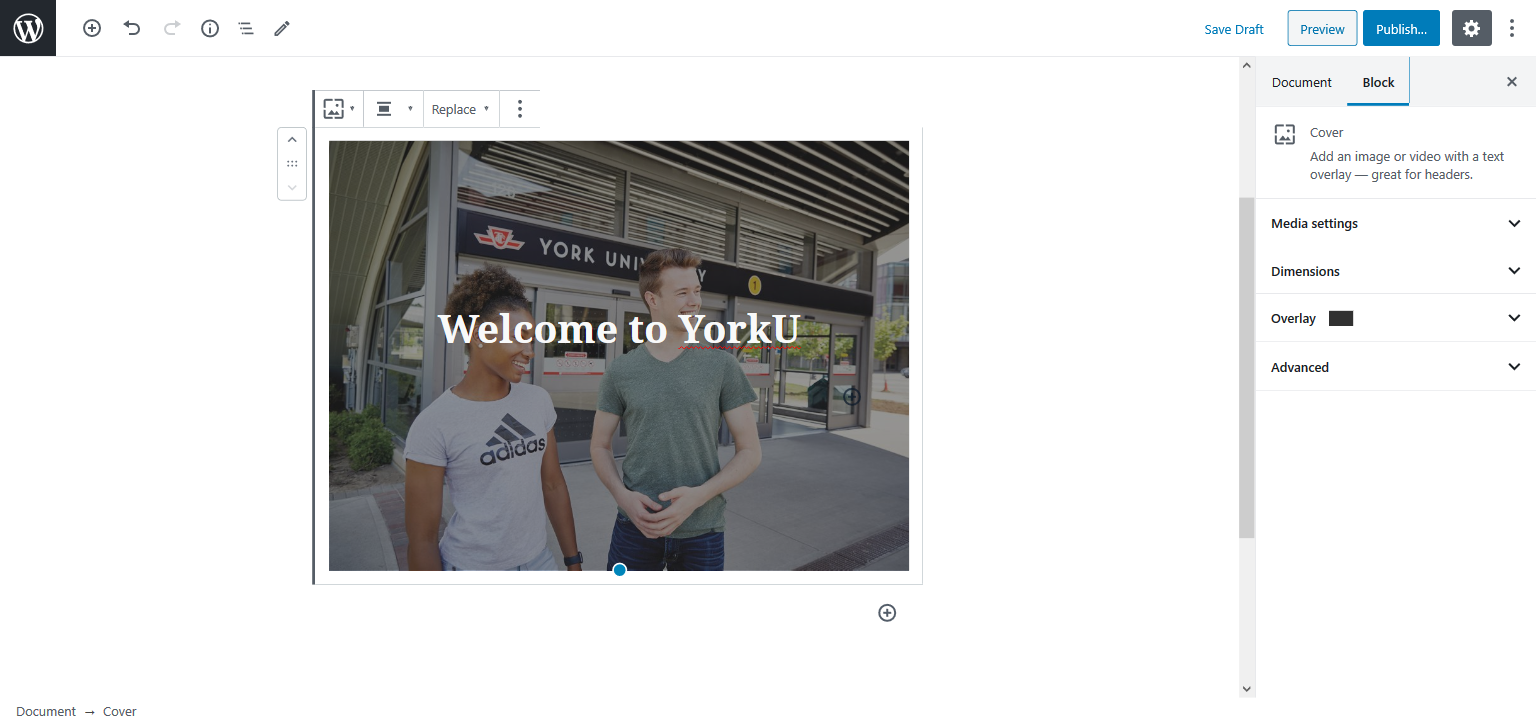
Once you’ve selected an image, you will see it right there in the page layout.
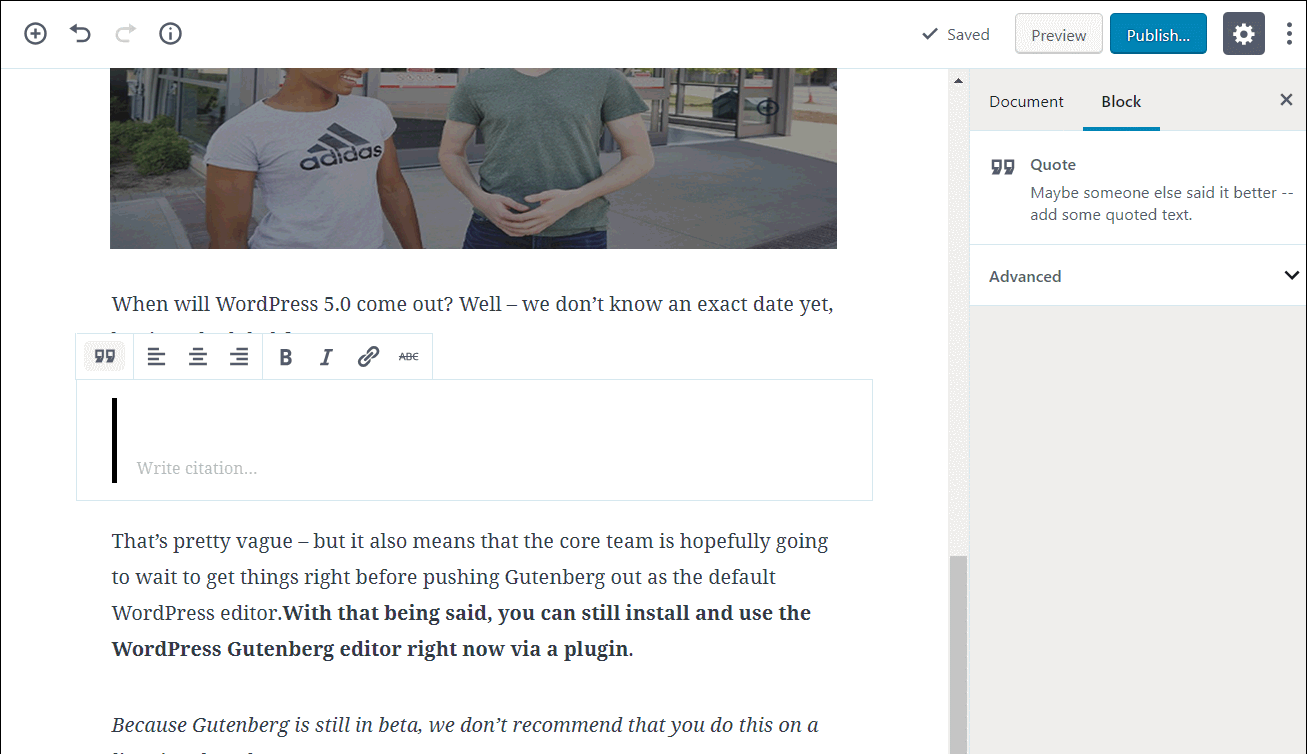
Adding a quote block
Hover over the spot where you want to insert the pull quote and use the same approach to insert another block. You can either search for “quote” or go to the Common Blocks section.
Then, you’ll see your new pull quote block. To create your quote, all you need to do is click into the block and type.
Adding a YouTube video block
To insert a YouTube video, you can add a new YouTube block from the Embeds tab. To insert a video, all you need to do is enter the URL and click Embed.
Working with columns – Inserting blocks inside column
Want to get even more creative? Gutenberg includes a columns feature that lets you quickly create multiple columns. All you need to do is add the Columns block from the Layout Elements section. Then, you can insert other blocks inside it:
Once you are done, all you need to do is click the Publish button and you’ll have the formatted page or post on the front-end.

Customizing individual blocks – Basic framework example
Basically, you control the content in the actual body of the editor.
For basic text styling and alignment, you can use the menu bar that appears when you hover over a block:
And for more advanced styling, you’ll usually style the block in the Block settings tab. To access that tab, select the block you want to edit and browse to the Block tab:

How to rearrange individual blocks
To rearrange blocks, you have two options. You can use the Up or Down arrow when hovering over a block to move the block in that respective direction:
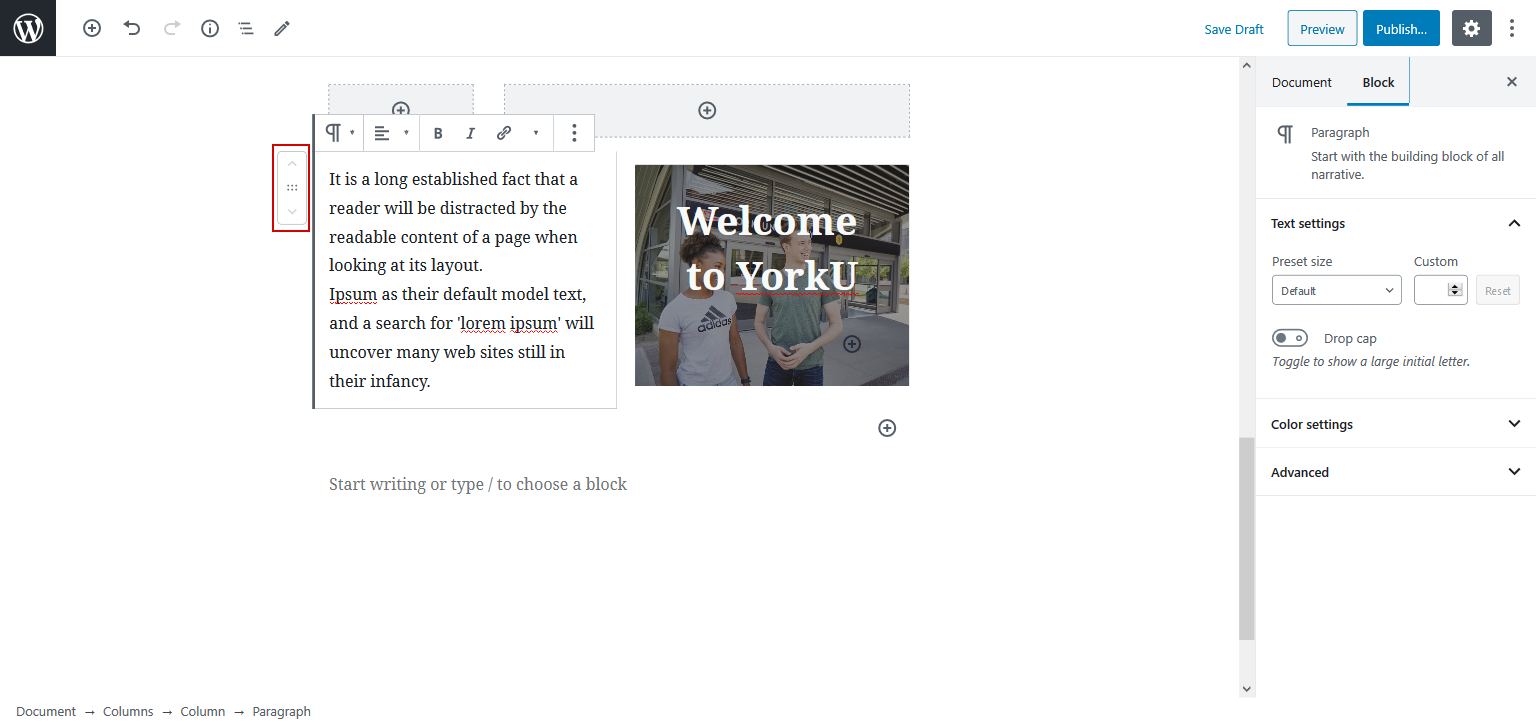
Or you can drag and drop blocks. To activate the drag and drop functionality, you’ll need to hover your mouse over the six dots between the up and down arrows:
At first, you might experience some growing pains and struggle to perform basic actions that you’ve taken for granted but once you pick up the flow of how things work with the new block editor, it’s fairly painless and intuitive.
To activate the drag and drop functionality, you’ll need to hover your mouse over the six dots between the up and down arrows

Next steps
Explore time-saver tricks while using Gutenberg Editor