- Click on the Windows 7 Start Button (lower left corner of Windows desktop).
- Select "Devices and Printers" on the list that appears to the right.
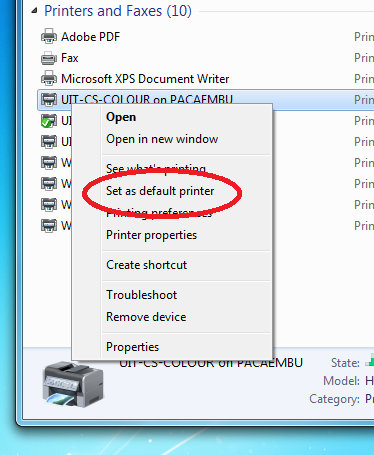
- In the window that appears, go to the "Printers and Faxes" section and right-click
on the printer that you would like as your default and select the option
"Set as default printer". - A small green checkmark should appear beside the printer chosen.
- Close the "Devices and Printers" windows